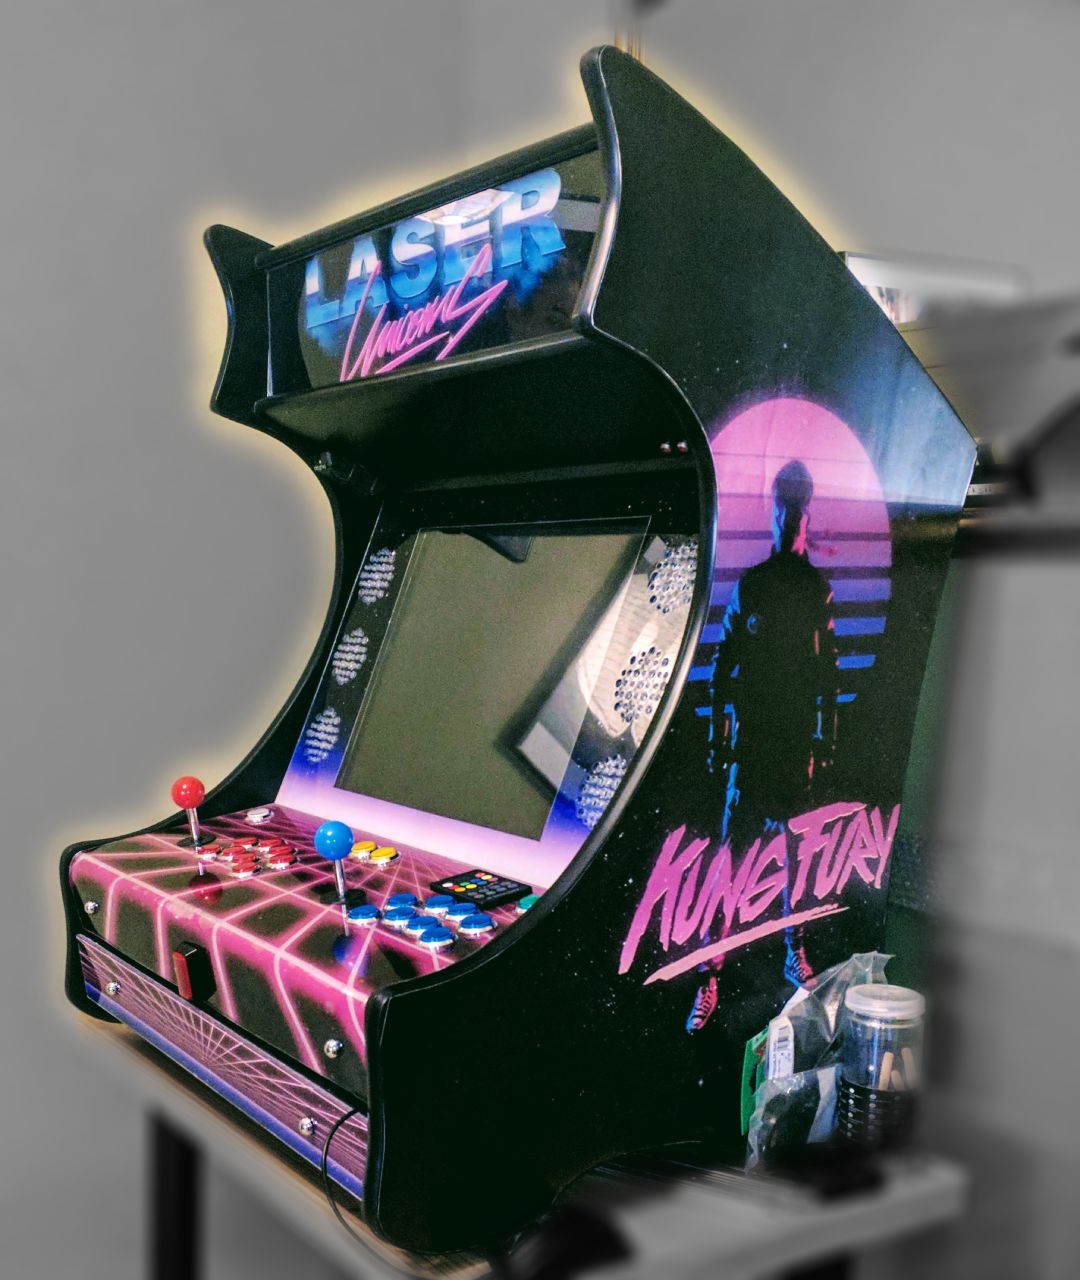
I designed and built my own bartop arcade, as a personal project.
I have to say it was cool and fun from the beginning until the end.
I sometimes get tired at some point of my projects, but this one kept me quite excited and happy all the time.
You can find a very resumed step by step description of the project (I could write an entire post per each part).
At the end of this post there is a video photomontage with a selection of the photos I have of the construction process, so you can get an idea of what this bartop is made of.
The Ingredients
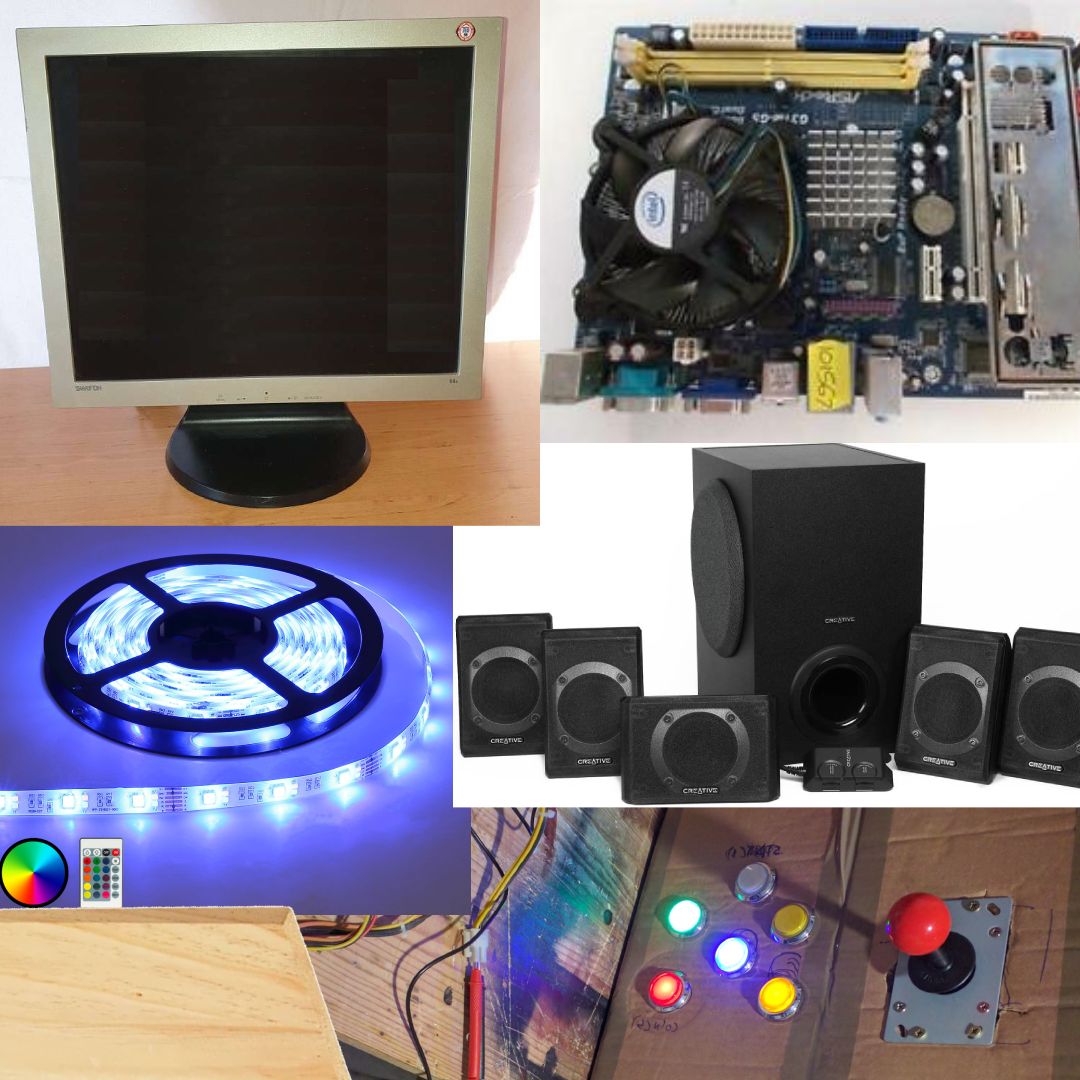
- Dual Core PC (Micro ATX).
- Creative 5.1 audio system for computer.
- Samtron 19″ TFT 4:3 screen.
- 2 players arcade buttons set with joysticks to connect by an USB interface.
- RGB Led strip lighting.
- Pinetree wood to build the body.
- Transparent methacrylate.
- Adhesive vinyl with the graphic design printed on it.
Going Step by Step
After some researching and thinking I decided to go for the game situation with biggest amount of buttons in arcade machines, that is 8 (as far as I found out).
I purchased a blue and a red joysticks, classic ones with the ball and metalic stick.
For the buttons I got 8 blue, 8 red, 2 yellow (for players start) and green and white (for exit and any other command). I also got the most important one, the “insert coin” button!
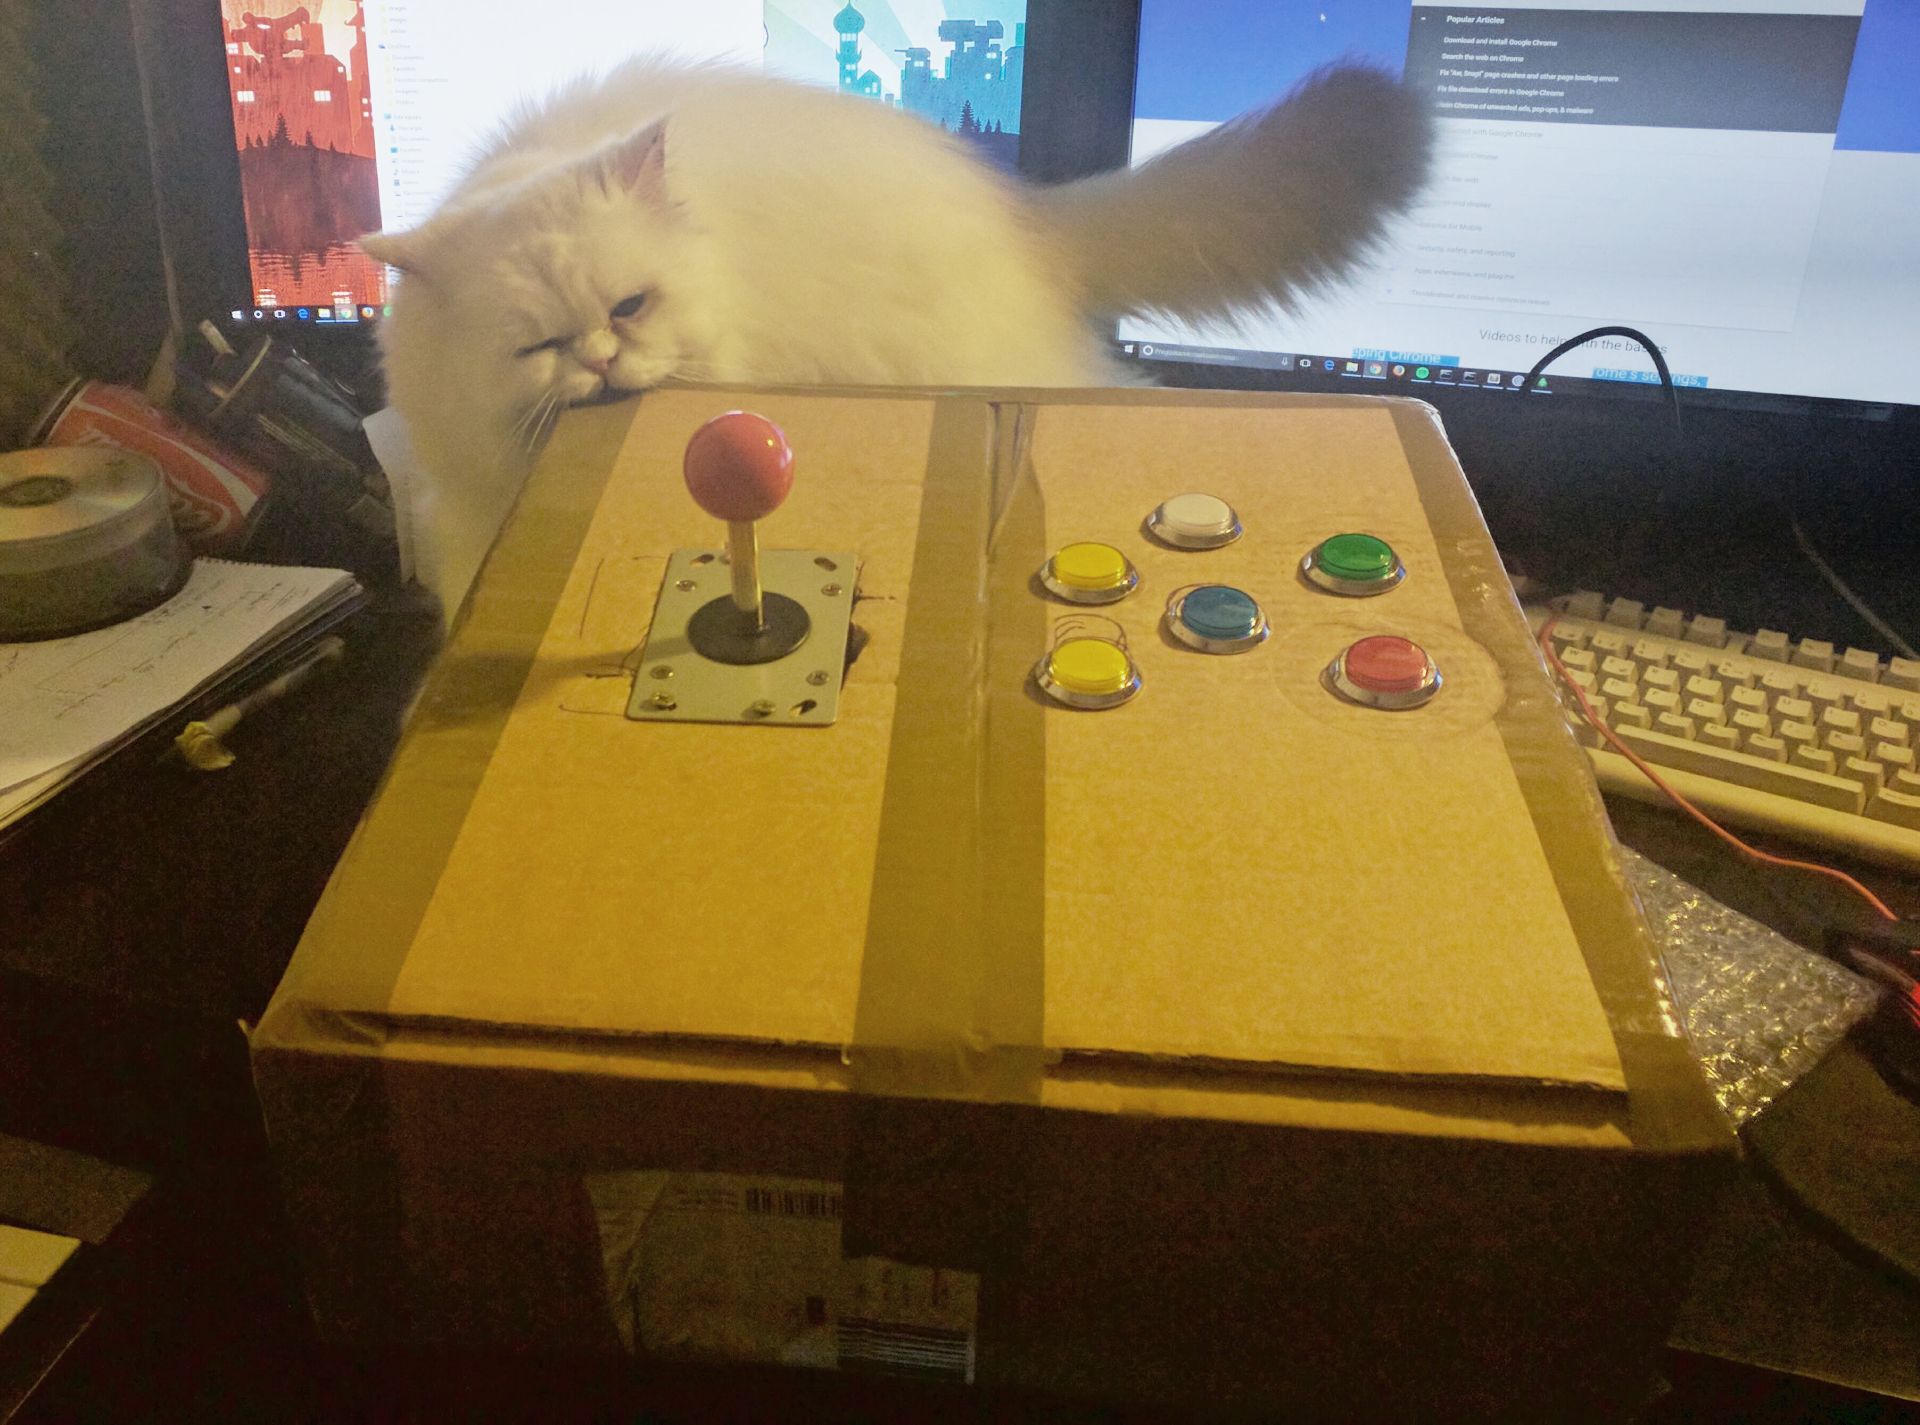
And all of them with retrolight that works with 5v, very convenient for a computer power source.
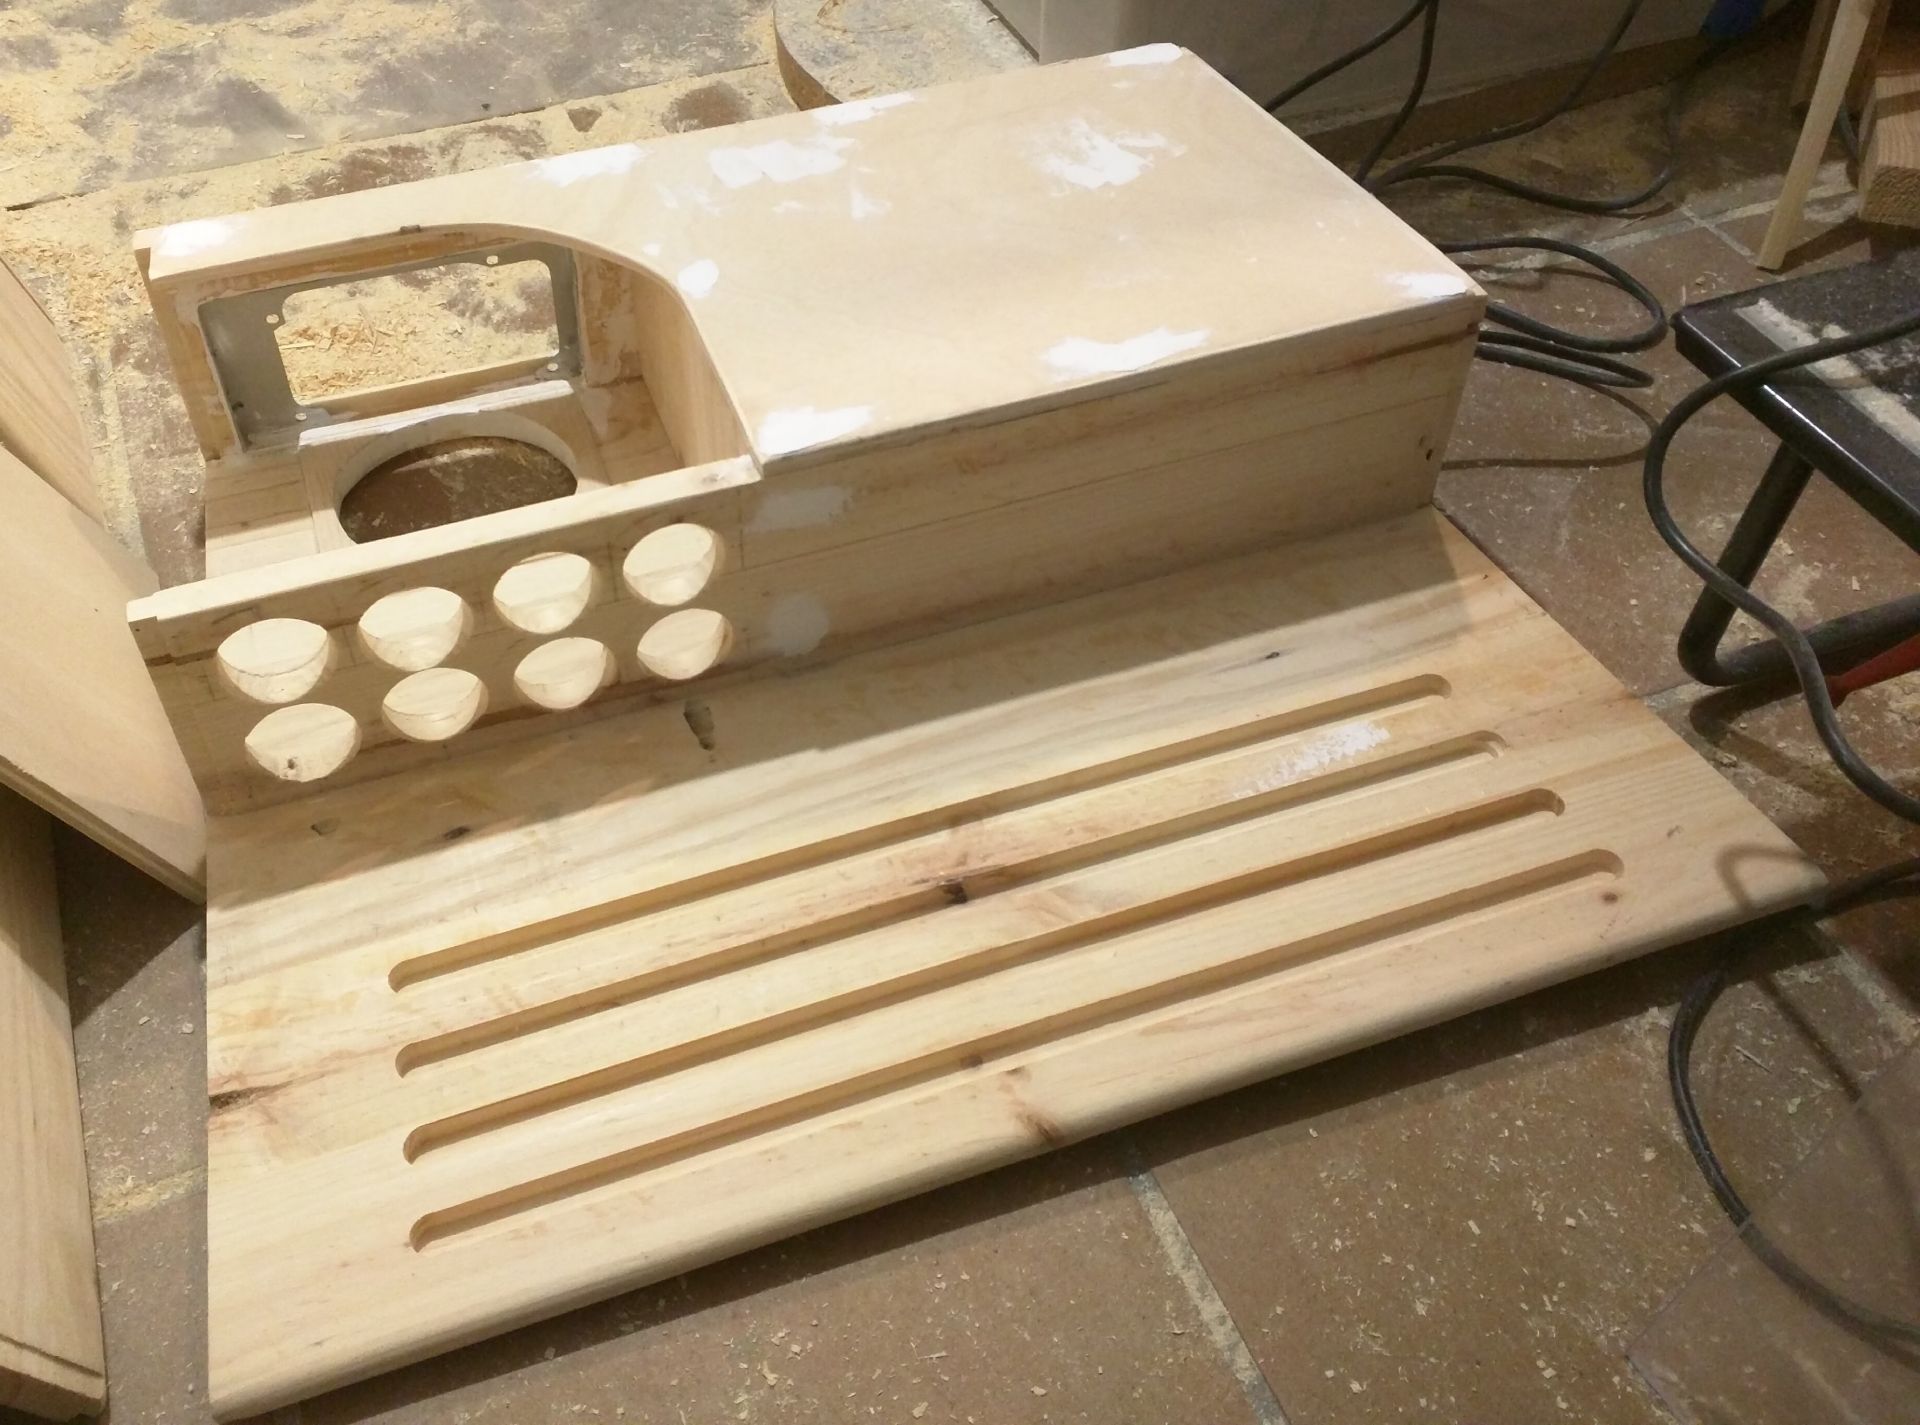
The bottom holds the power source for the computer and buttons light, the power source for the audio amplifier and also the bass-reflex box for the audio system.
The top holds the audio amplifier and the air extraction hole.
It is also where the retrolights for the header are, so there were many considerations for the cable paths, keeping separated, power source, speaker audio and audio line.
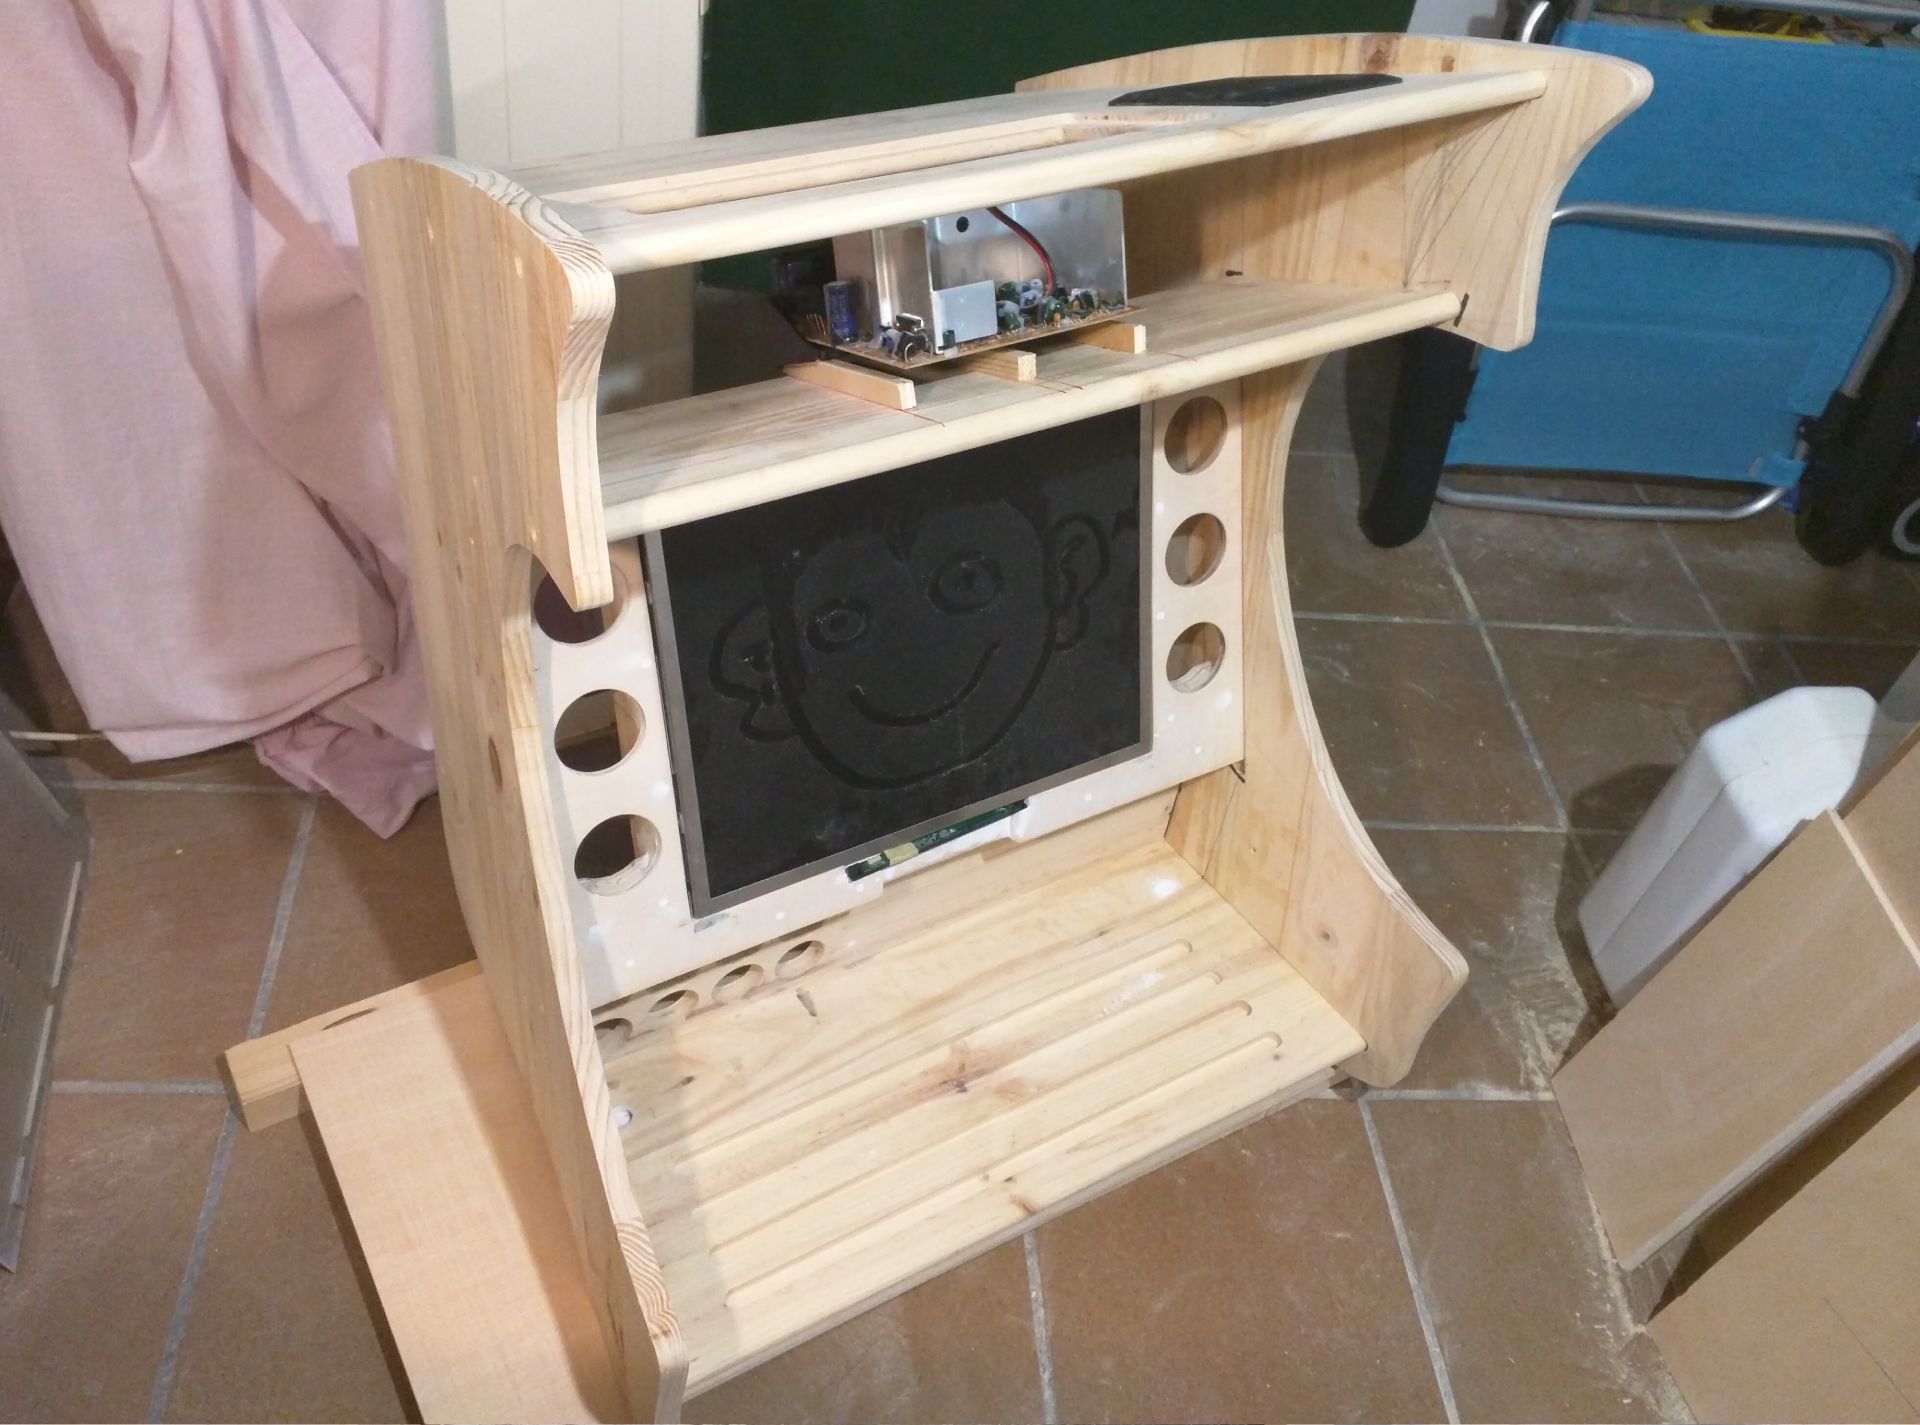
The pieze to hold the screen and the front speakers had a lot of work, needed to fit perfectly. The angle of the arcade sides plus the angle of the screen made the calculations quite difficult.
It needed thin wood strips to attach, just to keep the methacrylate surface at some distance from the screen surface, because the risk of bending with the screen heat.
Fortunatelly after that, the rest of piezes were way easier to create and so, main structure parts were assembled with no trouble.
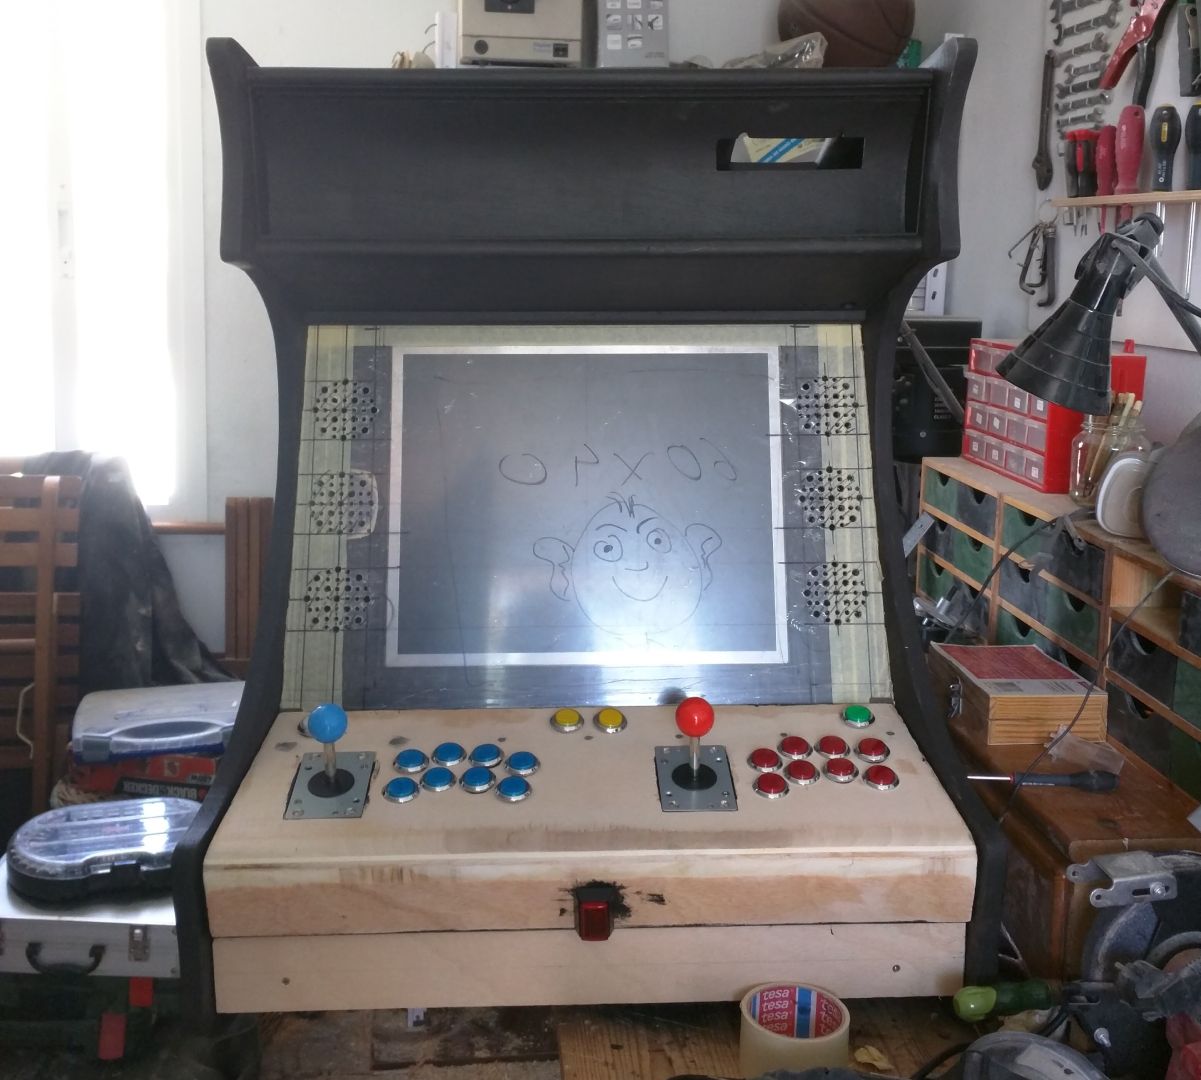
The controls board has an axis along the width so it can be bend up like a door.
In this way it allows me to check buttons cables for repairs or maintenance reasons.
There is a sliding tray between the controls board and the bottom of the arcade, where I store a keyboard for controlling the computer when it needs configuration.
I covered the controls board with a methacrylate layer with a printed vinyl sticker on the back.
This layer follows the curved shape of the controls board. I used a heat gun and although I managed to get the proper curved, there were tensions left into the material and it cracked a bit along the next months. They provide a unique charm tho.
Anyway it has a pretty cool look right now!
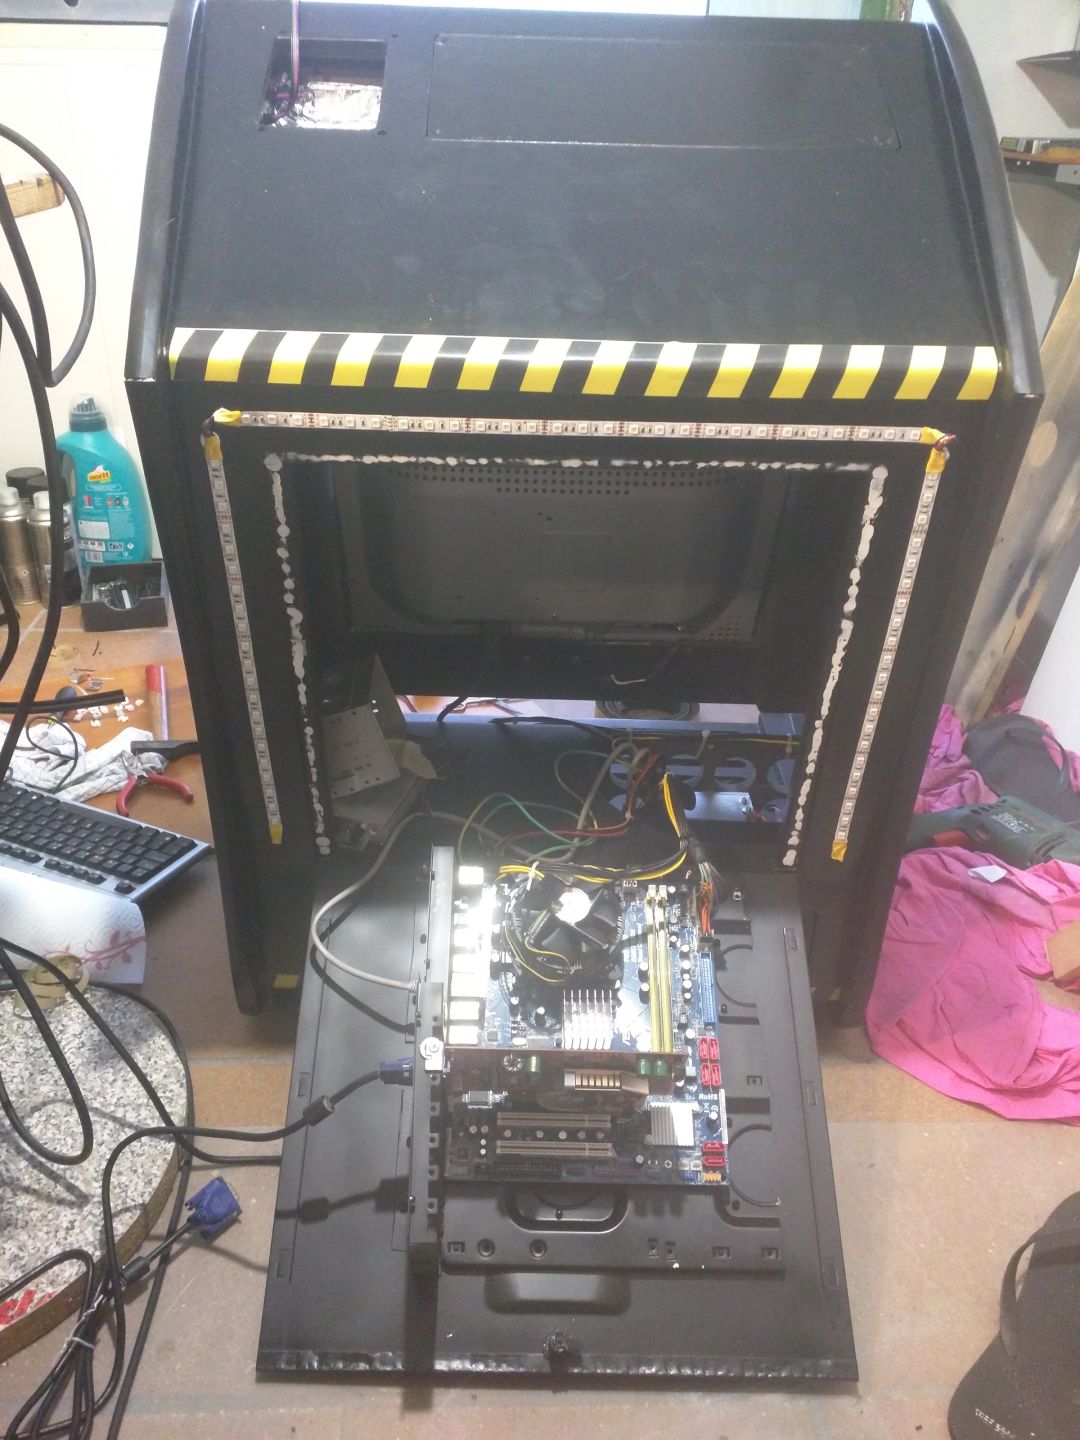
The back of the bartop is closed by a metalic “door” that holds the motherboard of the computer.
It is a tremendous handy feature that already saved me a lot of pain with computer and audio configuration and maintenance.
It has color lights!
I got a RGB Led controller with a remote that includes a function to change colors with the music.
There is led strips at the bottom, at the back, and of course at the front, header and controls board.
It is quite a show at night!
So this is it, one of the best projects I’ve done in my life,
where I had the chance to use many skills I learned along the years, and a lot more I pick up from this.
The consecuences of using old hardware is basically weight. It would be way lighter with a modern LED screen and just a Raspberry pi.
Who knows maybe, I will upgrade it like that in the future!